Getting Started With Laravel 4 and Vagrant

I’ve worked with a handful of different PHP frameworks over the years. From ZEND Framework to Codeigniter, all have their pros and cons. Some of them are more difficult to work with than others. None of them, however, have been more enjoyable for me to work with than Laravel.
I came across Laravel while randomly browsing the web. I don’t even remember what I was looking for but after reading more about Laravel and how simple it was to setup, I was hooked. In this article I’ll take you through setting up a PHP development environment for Laravel 4.
In this tutorial, I will also be introducing you to a utility called Vagrant. Vagrant makes it ridiculously easy to create a virtual machine in which to run and test your web applications. It uses VirtualBox as a backend and is pretty straightforward once you get into it. No more fussing with WAMP, XAMP, or MAMP environments. You can easily create a small virtual machine that more closely resembles your production environment with a just few commands.
1. Install VirtualBox and Vagrant
On a standard Debian or Ubuntu box you should be able to run
$ sudo apt-get install virtualbox
$ sudo apt-get install vagrant
$ sudo apt-get install linux-headers-$(uname -r)
$ sudo dpkg-reconfigure virtualbox-dkms
This installs VirtualBox, Vagrant and it’s dependencies. It also compiles the various kernel modules needed for VirtualBox to run correctly.
On my Gentoo box, I run
$ emerge virtualbox
$ emerge virtualbox-modules
$ emerge vagrant
2. Setup The Vagrant Environment
Vagrant’s virtual machines instances are based on prebuilt configurations called ‘boxes’. The following command will download a box based on Ubuntu Precise Pangolin (32bit) and name it ‘precise32′.
$ vagrant box add precise32 http://files.vagrantup.com/precise32.box
You now no longer have to download that box and can create any number of VM instances based on this build.
$ mkdir my_dev_env
$ cd my_dev_env
$ vagrant init precise32
$ vagrant up
That’s it! You now have a fully functioning Ubuntu VM ready to play around with. To work with the VM run
$ vagrant ssh
Now you will notice that the VM doesn’t automatically have a webserver or mysql or really anything needed for a development environment installed. You can go ahead and install everything you need manually but fortunately, Vagrant is scriptable. You can go ahead and write a script to install everything you need after running ‘vagrant up’ but why do that when it can be done for you?
Head on over to PuPHPet to see what I mean.
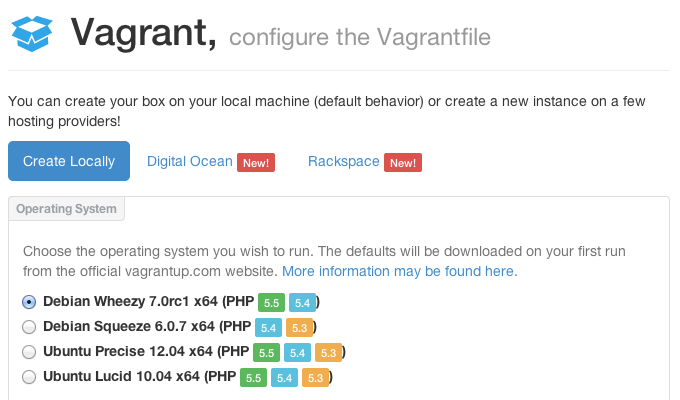
This handy GUI will take you through configuring a Vagrant environment that’s functional as soon as it boots up.
First select ‘Create Locally’. Next, for this tutorial we’ll select Debian Wheezy as our base. There’s no reason to change the vagrant box name but you can change the ‘Name Your Box’ section if you wish. You can also change the ip address that this VM will be accessed from.
One final thing I do in this section is change the default sync folder to ‘./work’. I’ll explain why later.
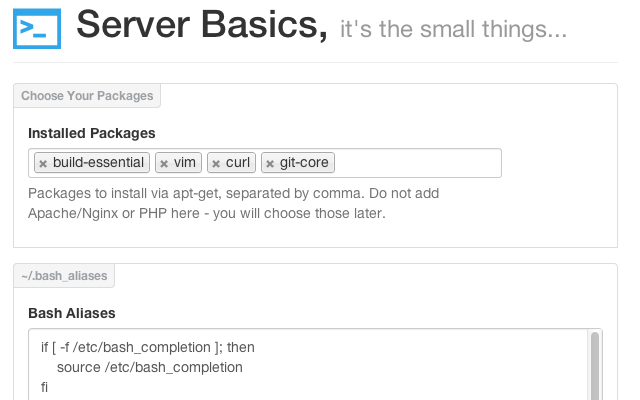
On the Server Basics section you can safely leave everything as default. If you want to add things like your own personal aliases file, you can add that here.
For the HTTP Server I choose Nginx because it’s awesome. Choose the host name you want to use for you dev environment. We’ll add that to our /etc/hosts file later for easy access. Everything else can safely stay the same.

I keep everything here as default as well. Make sure ‘Install Composer’ is checked. We’ll need that to install Laravel later. You can add any other PHP modules you want if you wish.

The Database section should be pretty straightforward. Just create a root password and setup a non-root user.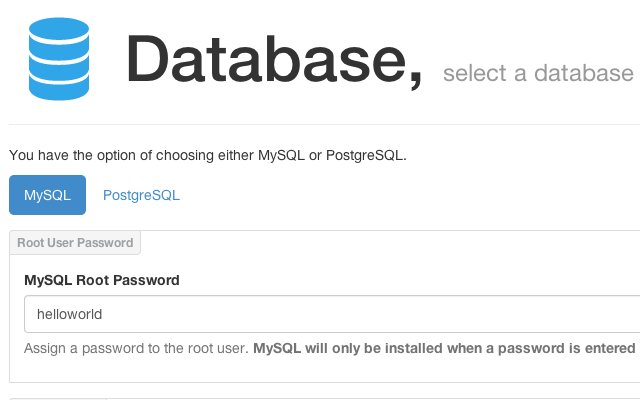
Finally you can hit ‘Create My Manifest’.
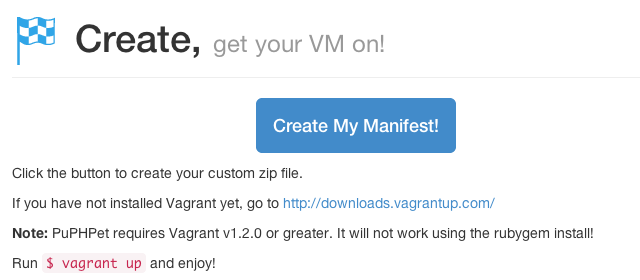
Once the .zip file has finished downloading run the following
$ unzip wheezy64.zip
$ mv wheezy64 laravel_dev
$ cd laravel_dev
$ ls
You’ll notice that this directory is cluttered with stuff. Normally Vagrant uses the top level directory of your environment to sync with a folder on the VM. In this case it will sync with ‘/var/www’. This comes in handy for developing on the local machine. Remember that we chose ‘./work’ as our local sync directory back in the GUI. It’s not created by default, so we have to create it ourselves. After that we can start Vagrant as normal.
$ mkdir work
$ vagrant up
To test to make sure everything is working run the following
$ sudo echo '192.168.56.101 laravel.dev' >> /etc/hosts
$ cd work
$ echo '<?php phpinfo(); ?>' > index.php
Note that ‘laravel.dev’ should be replaced with whatever you named your virtualhost back in the GUI. Open your web browser of choice and go to ‘http://laravel.dev' and you should see the familiar PHP Info page.
3. Install Laravel
Now to install Laravel we are going to use Composer which is an easy utility for installing various PHP related software such as the Laravel framework.
$ vagrant ssh
$ cd /var/www
$ composer create-project laravel/laravel your-project-name --prefer-dist
$ exit
$ chmod -R 777 my-project/app/storage
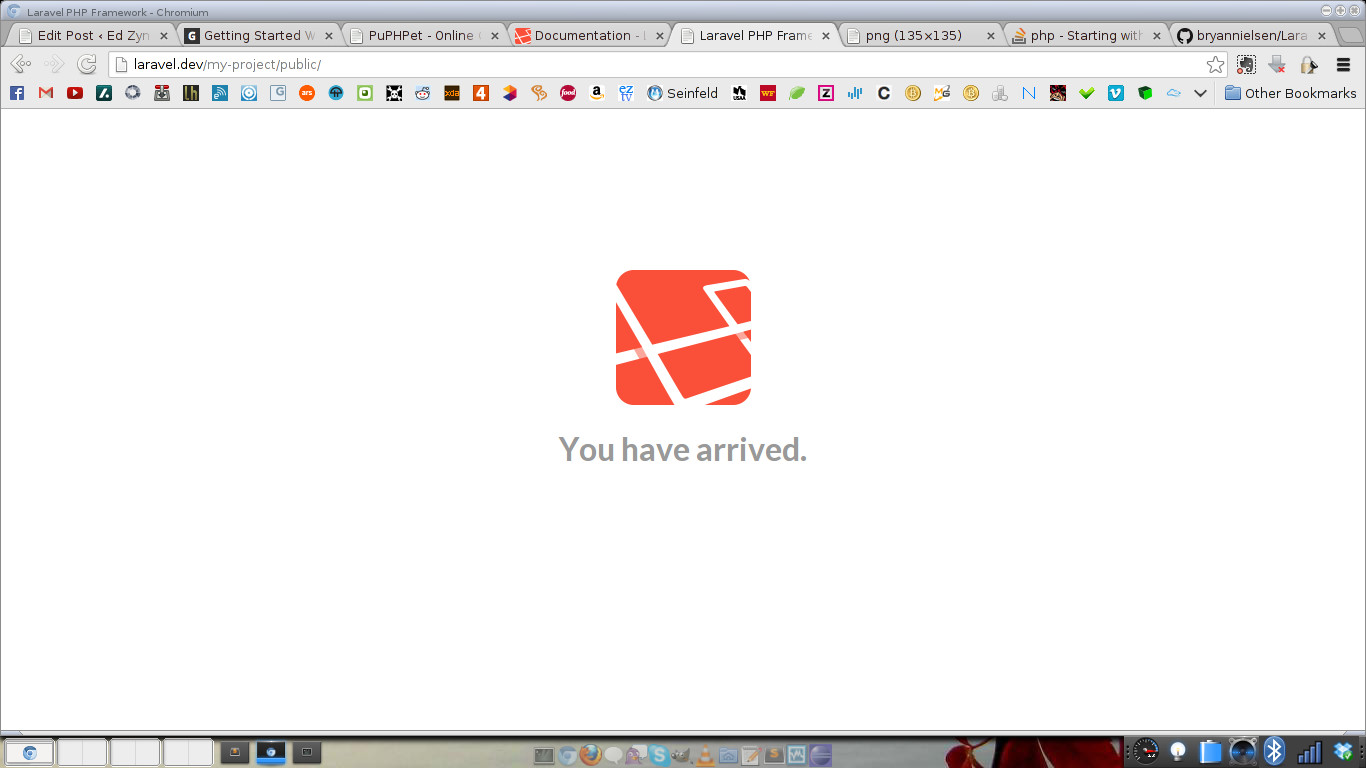
Now point your web browser to ‘http://laravel.dev/my-project/public'. You may have to ‘chmod -R 777′ the storage directory one more time as Laravel creates a ‘session’ directory that needs to be writeable.
If all goes well you should see the Laravel welcome screen stating that “You Have Arrived.”
Congratulations! You should now have a functioning Laravel 4 development environment.
